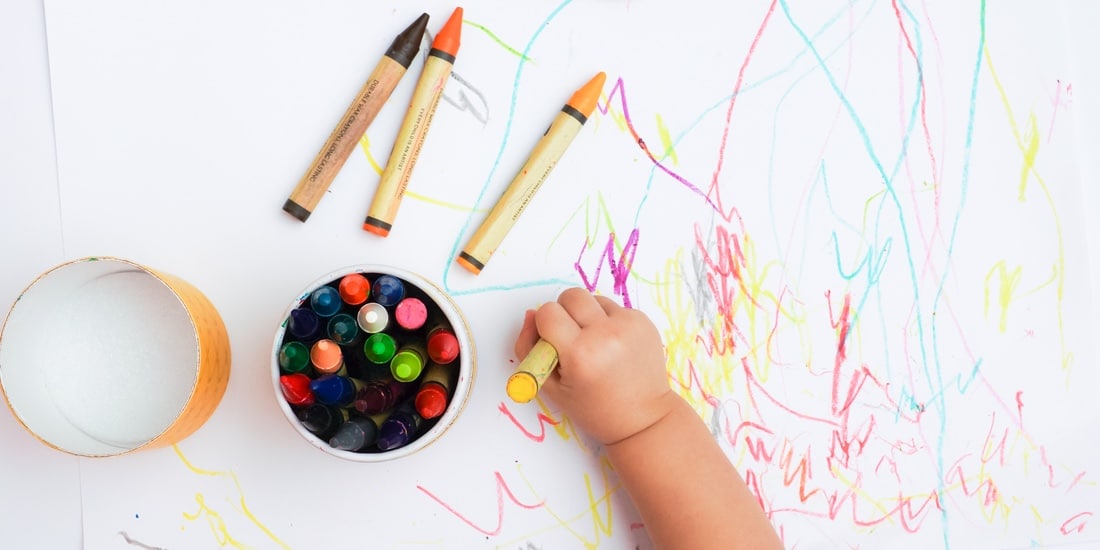
Many of us are eager for our children to learn to write. It takes practice but it also needs to be fun and inspiring – no easy feat!
(Note – Learning to write is a different issue from learning letters or numbers. Learning to write is about fine motor development.)
Learn
Research shows that development of fine motor skills of the hand directly link to development of the brain. And evidence shows that motor skills are a proven indicator of future math and reading success. But at its simplest, learning to write is empowering for a child. Once secured, it frees up their brain to work on other parts of language and literacy, like letter sound identification, reading and punctuation.
The key is to make writing motivating, meaningful and practical so that your child discovers its value and fun.
- Fine motor skills develop from gross motor skills. Before your child can write or draw small, they must start big. Give them large sheets of paper – post it on the wall or on the floor. Or try a big dry erase board or chalkboard. Practice drawing circles and loopy shapes.
- Encourage proper pencil grip from the start. Holding a writing tool with two or three fingers and the thumb is correct. This is called a tripod grip.
- Use short crayons, markers or pencils to support pencil grip and pressure. The shorter the writing tool, the less room for extra fingers, which forces the hand to a tripod grip. A shorter writing tool is also easier for children to manage.
- Use a variety of writing tools. Fat markers are easier for children to hold, but they don’t require finger pressure so aren’t ideal for learning. Try colored pencils or breaking crayons in half.
- Make writing fun. Sitting with a workbook and tracing letters and shapes over and over again can be uninspiring. For example, telling your child to practice writing every evening may cause an unwanted power struggle. Send a message to your child that learning to write is interesting and fun.
- If your child has the fine motor skills to write, is willing to write in context, and knows their letters, they’re in great shape (even if they don’t want to write or aren’t interested in it).
Just Remember
- Exposing children to a variety of writing tools and opportunities, as well as modeling writing, will help them to develop proper pencil grip, pressure and control.
- Practice, practice, practice!
- Make learning to write fun and practical.
Do
Favorite DIY Activities that Practice Holding Instruments with Control
- Beading, painting, lacing, playdough, sewing and knitting (for older children), etc. Anything to work those little hand muscles!
- Water fun – Have your child squeeze a sponge or use a baster to move water from one bowl to another.
- Paint with Q-tips or small pieces of sponges – both force the tripod grip.
- Play ‘chopsticks’ – Use chopsticks to pick-up different sized objects and put them into cups or muffin trays (e.g., cotton balls, pom poms, little rocks, chalk, etc.).
- Create a Salt Tray – At its most basic, a salt tray is a tray (or box) filled with table salt (or rice). Children can use a finger or a writing tool to draw letters, numbers, shapes, etc.
Easy Things You Can Do
For Younger Children (ages 2 – 4):
- Give your child templates to work with. Try using tracing paper, connect the dots, follow the lines, mazes and other follow along activities. Here are our favorite templates (no credit taken; just scoured the Internet for you):
- Create a writing tool box filled with writing tools, activities and paper.
- Give your child a blank journal to draw in, doodle and practice letters.
- More information on the basics of pre-writing skills (like crossing the midline and bilateral coordination). Pre-writing skills are needed before other handwriting skills, like letter formation, are mastered.
For Older Children (ages 4+):
- Make little cards or worksheets that have the alphabet printed in upper and lower case for your child to follow. (Comic Sans and Century Gothic fonts are best for lower case because the “a” is easy for children to print). Great printables we found for you:
- Write in context.
- Have your child write out the shopping list or plans for the weekend.
- Have your child write signs for their bedroom door, signs for the house (e.g., ‘Welcome to my play room’, ‘Dirty laundry’, ‘Kitchen’, etc.), instructions to save their block structure from their sibling, or to share an idea.
- Have them sign their name to everything possible: art projects, school sign-in sheets, lists, etc.
- Send a letter / postcard to a friend or family member. Free postcard printable.
- Have your child draw a picture and dictate a story to you. If you’re right handed, sit on their right so they can see you writing. Vice versa for lefties.
- Renowned occupational therapist, Jan Olsen, has free, developmentally appropriate screeners. Jan Olsen is credited with teaching letter identification and handwriting to preschoolers by breaking down letters into curves and lines.
- Start writing a letter in the same place.
- Write the letter in the same way each time.
