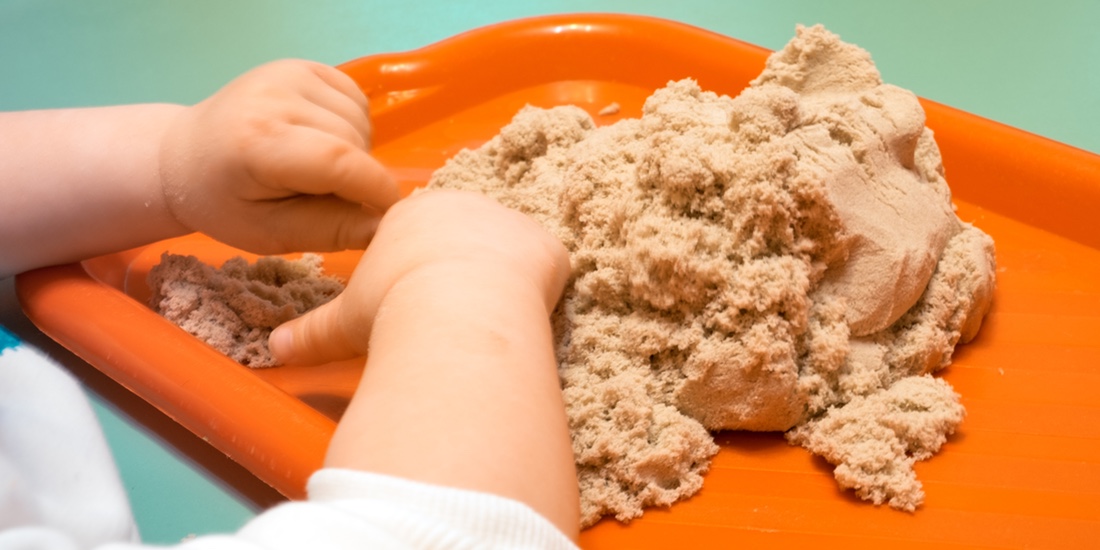
Whether a young child practices prewriting skills or an older child works on sight words, salt / sand trays are an easy and entertaining multi-sensory activity that promotes the development of fine motor and critical thinking skills.
(Note – Learning to write is a different issue from learning letters or numbers. Learning to write is about fine motor development.)
Do
How to Create and Use a Salt Tray
- Create a basic Salt Tray – At its most basic, a salt tray is exactly as it sounds – a tray of some sort (or a box) filled with table salt. (Because salt is easier to find than sand.)
- Using a tray, a small wooden box or a cookie sheet, fill the entire base with a layer of salt that is thick enough to completely cover the bottom but not so much that children can’t form letters in the salt. Ensure you choose a container with a lip so the salt is contained.
- Children can use a finger or you can choose a writing utensil. This can be a paintbrush, a stick, a chopstick or any other utensil that will work to write in the salt. The more unique, the better!
- Helpful photos HERE.
- Choose the theme of your Salt Tray – There are many variations of a salt tray and they can be customized based on season, child’s interest, or favorite scent.
- Adding a piece of colored paper to the bottom, perhaps the child’s favorite color, will result in a surprise pop of color.
- Adding spices such as cinnamon or pumpkin pie provides an extra element that many kids enjoy – create a fall tray with pumpkin pie spice and a stick.
- Create a fairy dust tray by adding a bit of liquid food coloring and lavender oil to the salt, letting it dry on a cookie sheet ahead of time, and then mixing in some glitter. Get fancy by laying strips of different colors to make a rainbow tray.
- Choose what skills you wish to emphasize – Young children can practice making circles, lines, waves and zigzags (shapes involved in letter formation), while older kids can practice individual letters, numbers or words.
- You can suggest a shape, letter, number or word for your child to write, or you demonstrate on a notecard and have your child take a turn. Or use a set of flashcards and take turns choosing a card and writing what appears in the salt.
- After writing, gently shake the tray to redistribute the salt. Best part of a salt tray is that you can infinitely reuse it.
- Work on pencil grasp for older children – Older children who struggle with pencil grasp can use a short writing tool, such as a broken crayon, pencil, or Q-tip which forces the hand to a tripod grasp as there is less room for extra fingers.
- Easy clean-up – Pour the salt into a plastic bag or container to store for future use. Have your child help you vacuum up any spilled salt (the salt will spill, it’s pretty inevitable!). Major upside – there are no messy markers and no wasted paper; 100% reusable.
Salt – Lots of it Tray or coookie sheet – Or a tray or box; something with a lip so the salt is contained Writing utensil – Whatever is easily accessible at home Optional: Stuff to make the salt more “fun”Materials Needed
